● 30 Days Before Shoot – Planning Phase
Photographer Shortlist
The photographer plays the biggest role in a pre-wedding shoot, so never finalise someone just because of Instagram followers or viral reels. Real quality can only be understood when you properly check their complete work portfolio.
First, review the photographer’s recent work. Check whether the quality stays consistent in every shoot or not. If only 2–3 photos look attractive while the rest feel average, you should be careful.
Another important thing is natural expressions. A good photographer is someone who can make the couple feel comfortable. In photos, it becomes very clear whether the couple is genuinely enjoying the moment or just trying hard to pose.
Also, ask for some raw photos or short raw video clips along with edited samples. This helps you understand the real camera handling skills, lighting quality, and shooting style of the photographer.
Communication is equally important. A professional photographer responds properly, speaks politely, keeps timings clear, helps in planning, and avoids creating unnecessary confusion. A photographer can either improve your mood during the shoot or completely spoil the experience, so this point matters a lot.
Date Lock
Do not decide your pre-wedding shoot date only based on your free schedule. In a city like Patna, both the weather and the crowd can strongly affect the shoot experience.
Before finalising the date, always check the weather conditions. Outdoor shoots during extreme afternoon heat can become very tiring. Sweating affects makeup, and facial expressions also stop looking natural because of the heat.
Continuous rainy days can make outdoor shoot planning risky. During winter, heavy morning fog can make it difficult to capture clear shots. That is why checking weather conditions before locking the date is very important.
Theme Decide
Choosing the right theme is very important for a pre-wedding shoot because it decides the overall mood and style of the shoot.
Casual Romantic Theme
If you prefer a simple and natural-looking shoot, the casual romantic theme is a safe option. It works especially well for couples who feel a little shy in front of the camera.
Traditional Theme
If you want a cultural or family-oriented touch in your shoot, the traditional theme is a better choice. Ethnic outfits naturally suit this style, and simple, elegant poses look more attractive.
Cinematic Theme
If you want dramatic reels, slow-motion shots, and a movie-style feel, then you can choose a cinematic theme.
● 15 Days Before Shoot – Preparation Phase
Outfit Finalization
Outfits play a very important role in a pre-wedding shoot. If the clothes are not comfortable, it directly affects both expressions and body language. That is why it is better to finalise your outfits at least 15 days before the shoot.
While choosing outfits, always prioritise comfort because there is continuous movement during the shoot. You may have walking shots, sitting poses, candid moments, and sometimes even multiple location changes. Comfortable outfits help you stay relaxed and confident throughout the shoot.
Location Recce
Location recce simply means visiting the shoot location in advance and checking everything beforehand.
Many couples directly reach the location on the shoot day and then face issues like parking problems, heavy crowd, or lack of changing space. That is why visiting the location once before the shoot can be very helpful.
If you are planning multiple outfits, check the changing arrangements in advance because not every location has a washroom or private changing area. Also, confirm whether photography and videography are allowed at the location or not.
Finalise Shot Ideas
Preparing some basic shot ideas before the pre-wedding shoot is very useful. This does not mean every pose should be fully scripted.
Choose poses and moments where both partners feel comfortable, such as walking together, having a normal conversation, laughing naturally, hand-holding shots, and candid reactions. These types of moments look more natural and never feel forced.
● 7 Days Before Shoot – Final Setup
Confirm Bookings
About one week before the pre-wedding shoot, it is very important to properly recheck all bookings. Many couples relax after making the bookings and assume that everything will automatically be managed, but that is not always the case.
First, take a final confirmation call or chat with the photographer. Confirm details such as the reporting time, exact meeting point, total shoot duration, number of team members coming, and the equipment they will carry. If you have also booked a makeup artist, outfit rental, or vehicle service, recheck their timing and availability as well.
Keep a Backup Plan Ready
In outdoor pre-wedding shoots, things do not always go according to plan. Sometimes the location becomes too crowded, sudden rain starts, or traffic and permission issues cause delays. That is why keeping a backup plan ready is always a smart idea.
If there is any issue at the main location, you should already have an alternative option prepared. If possible, also consider an indoor option. During rain or extreme weather conditions, indoor cafes, studios, or covered areas can be very helpful.
These preparations may seem small, but on the actual shoot day, they help avoid unnecessary stress and confusion. When a backup plan is already in place, both the couple and the team feel more relaxed and confident throughout the shoot.
● 1 Day Before Shoot
Clothes Packed
Packing your outfits properly one day before the pre-wedding shoot is very important. On the shoot day, there are already many things to manage, so searching for clothes or ironing them at the last moment can create unnecessary stress.
While packing, check everything carefully to make sure all outfits are complete. Ensure that matching shoes are ready, accessories are packed, and extra innerwear or backup clothes are available if needed.
Props Ready
If you are planning to use props in your pre-wedding shoot, it is better to prepare them properly one day in advance. On the actual shoot day, it is very common to forget small items in the rush.
Make a list of all the props you want to use, such as flowers, sunglasses, hats, dupattas, coffee mugs, bike accessories, or scooter accessories, and keep everything in one place. This keeps the packing organised and makes the shoot preparation smoother.
Time Coordination
One day before the shoot, confirm the timing and location once again with the photographer, makeup artist, driver, and other team members. Clear communication about the reporting time, travel duration, and outfit change timing helps reduce confusion on the shoot day.
For morning shoots, always keep some buffer time because sunrise lighting is available only for a limited period, and traffic delays can also happen. Make sure your phone is fully charged and all important contacts are easily accessible.
● Shoot Day Execution Plan (Hour-by-Hour)
Morning Routine
5:30 AM – Wake Up & Get Ready
If sunrise shots are planned, waking up early is a better option. It helps avoid last-minute rushing and keeps the entire day organised. After getting ready, check all important items once, such as your phone, charger, outfits, shoes, accessories, and makeup essentials.
6:00 AM – Have a Light Breakfast
Avoid having a heavy breakfast before the shoot. Simple foods like sandwiches, fruits, oats, tea, or coffee are usually enough to keep you active and comfortable.
6:30 AM – Makeup & Grooming Start
If a makeup artist is booked, they usually start early in the morning. Bridal makeup generally takes around 1–2 hours, depending on the desired look.
7:30 AM – Final Outfit Check
Before leaving for the shoot, make sure all outfits are properly pressed. Shoes should be clean, and accessories should be ready and organised.
8:00 AM – Leave for the Location
On shoot day, following only Google Maps timing is not practical. In real situations, extra time is often needed because of traffic, parking issues, tea breaks, washroom stops, or difficulty finding the exact location. That is why experienced photographers usually recommend leaving 30–45 minutes earlier.
After reaching the location, the shoot does not start immediately. First, the photographer sets up the camera, checks the lighting conditions, and verifies drone permissions if a drone is being used. Couples are also given some time to relax and feel comfortable before the shoot begins.
Shoot Sequence
9:30 AM – Start with Simple Candid Shots
Most shoots begin with simple candid shots. In real shoots, many couples feel nervous or awkward in front of the camera at the beginning. Simple poses and natural moments help them feel more comfortable and confident.
10:30 AM – Close-Up Portraits
Once the couple becomes comfortable in front of the camera, close-up portraits and romantic poses are usually started. Photos captured during this time often look more natural and expressive.
11:30 AM – Outfit Change & Short Break
Continuous shooting can be tiring, especially at outdoor locations. Taking a short break helps maintain energy levels. Drinking water and resting for a while keeps the couple fresh. Outfit changes usually take around 20–30 minutes.
12:15 PM – Cinematic Video Shots
At this time, most cinematic shots are filmed, such as slow-motion walking, coordinated movements, wide-angle shots, and drone sequences. Video shoots usually require more retakes compared to photos.
1:30 PM – Lunch Break
Skipping lunch is usually not practical during a long shoot. Continuous shooting can lower energy levels, which directly affects facial expressions and overall mood.
2:15 PM – Indoor or Shade-Based Shots
During the afternoon, sunlight is usually very harsh. Because of this, photographers prefer shaded areas, indoor cafés, forts, or covered locations for shooting.
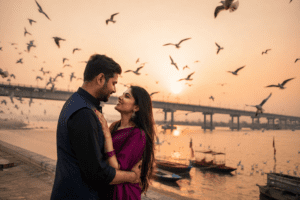
4:00 PM – Golden Hour Preparation
The time before sunset is considered the most important for pre-wedding shoots. Photographers prepare camera setups and framing in advance because the golden hour lasts for a very limited time. Most cinematic and premium-looking shots are captured during this period. The natural warm sunlight makes skin tones look softer and enhances the background visually.
5:30 PM – Final Creative Shots
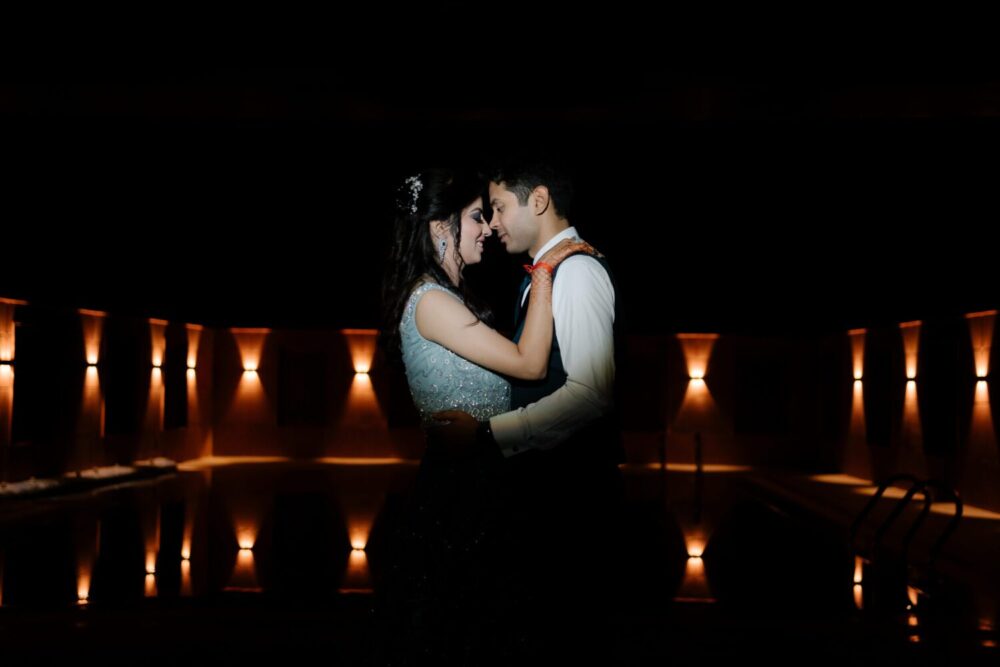
Towards the end of the shoot, photographers usually try creative or experimental shots. If a drone is available, wide cinematic frames and sunset shots are commonly captured during this time.
6:00 PM – Wrap Up & Backup
After the shoot is completed, the photographer immediately starts backing up the raw files to reduce the risk of data loss. Couples also usually check all their belongings properly before leaving, because small items often get misplaced at outdoor locations.
Conclusion
A successful pre-wedding shoot does not depend only on an expensive camera or a fancy location. The real difference comes from proper planning, clear coordination, and smart execution. When outfits, travel timing, makeup, shoot sequence, and editing are well planned, the final photos and videos naturally look more cinematic and professional.
In real shoots, the most common problems happen because of last-minute planning, overbooking, and poor coordination. That is why experienced photographers always recommend planning early. When couples feel relaxed and comfortable, their expressions look more natural, and the overall vibe of the shoot becomes much better.
The purpose of a pre-wedding shoot is not just to click random photos. The final result should feel like real memories that still look meaningful even years later.
Ready to Plan Your Pre-Wedding Shoot?
If you want natural photos, cinematic videos, and a stress-free shoot experience, it is better to start planning and booking early. Before choosing a photographer, always check their complete portfolio and properly understand the package details.
For shoot planning, package details, or booking-related information, you can directly contact:
📞 +91 8235109707
📞 +91 79924 06637